컨텐츠 채우기
- 이번 포스팅에서는 portfolio 페이지에 들어갈 image 와 text content 내용을 채워 보겠습니다.
- 우선 1개의 content를 채운뒤 나머지 content들을 추가하는 방식으로 진행합니다.
- 아래의 단계별로 진행 해 보겠습니다.
단계
1. image 추가
2. text Content 채우기
3. content 태그 추가
4. CSS 수정
1.image 추가
- subimage 태그 안에 img태그를 추가합니다.
- 경로는 static > img > portfolio 디렉토리 안에 Trading_predict_price.png 를 지정해 줍니다.
- 대체 문자로는 ' 주식가격예측'을 넣어 줍니다.
        <div class="image">
            <img src="../static/img/portfolio/Trading_predict_price.png" alt="주식가격예측">
        </div>
- img 태그의 max-width 값으로 100% 를 지정해 줍니다.
#portfolio > .content > .image > img {
    max-width: 100%;

}
2. text Content 채우기
- subtitle / subdescription / sublink 에 들어갈 문구들을 각 태그들의 span 안에 넣어 줍니다.
<div class="textcontent">
<div class="subtitle">
<span>
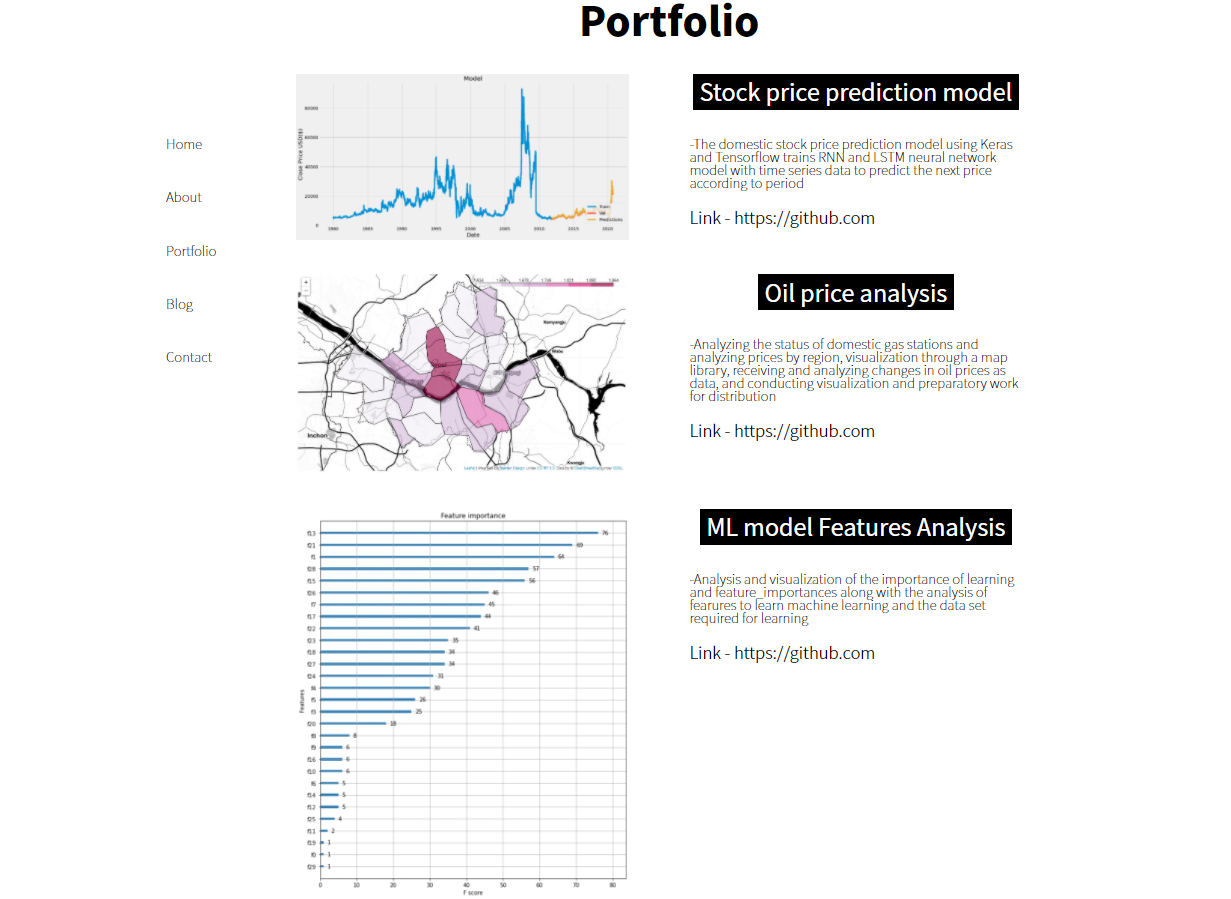
Stock price prediction model
</span>
</div>
<div class="subdescription">
<span>
-The domestic stock price prediction model using Keras and Tensorflow trains RNN and LSTM neural network model with time series data to predict the next price according to period
</span>
</div>
<div class="sublink">
<span>
Link - https://github.com
</span>
</div>
</div>- link 부분은 우선 임의로 넣어 놨습니다.
- 이부분을 a태그로 감싸 주겠습니다.
                <span>
                   <a href="">
                       Link - https://github.com
                   </a>
                </span>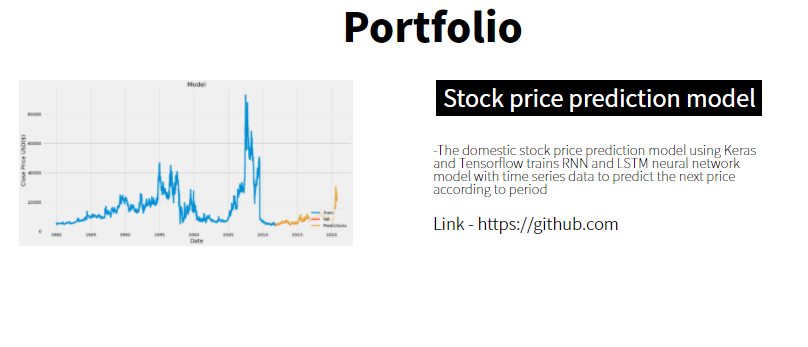
- 잘 들어 갔네요.
3. content 태그 추가
- 이제 만들어 놓은 content태그를 복사하여 2개 더 추가 해주고 안에 있는 내용을 수정해 줍니다.
    <div class="content">

        <div class="image">
            <img src="../static/img/portfolio/Trading_predict_price.png" alt="주식가격예측">
        </div>
        <div class="textcontent">
            <div class="subtitle">
                <span>
                    Stock price prediction model
                </span>
            </div>
            <div class="subdescription">
                <span>
                    -The domestic stock price prediction model using Keras and Tensorflow trains RNN and LSTM neural network model with time series data to predict the next price according to period
                </span>
            </div>
            <div class="sublink">
                <span>
                    <a href="">
                        Link - https://github.com
                    </a>
                </span>
            </div>
        </div>
    </div>

    <div class="content">

        <div class="image">
            <img src="../static/img/portfolio/oil_price_korea.jpg" alt="국내주요소가격분석">
        </div>
        <div class="textcontent">
            <div class="subtitle">
                <span>
                    Oil price analysis
                </span>
            </div>
            <div class="subdescription">
                <span>
                -Analyzing the status of domestic gas stations and analyzing prices by region, visualization through a map library, receiving and analyzing changes in oil prices as data, and conducting visualization and preparatory work for distribution
                </span>
            </div>
            <div class="sublink">
                <span>
                    <a href="">
                        Link - https://github.com
                    </a>
                </span>
            </div>
        </div>
    </div>

    <div class="content">

        <div class="image">
            <img src="../static/img/portfolio/feature_impotance%20Chart.png" alt="중요특성분석">
        </div>
        <div class="textcontent">
            <div class="subtitle">
                <span>
                    ML model Features Analysis
                </span>
            </div>
            <div class="subdescription">
                <span>
                    -Analysis and visualization of the importance of learning and feature_importances along with the analysis of fearures to learn machine learning and the data set required for learning
                </span>
            </div>
            <div class="sublink">
                <span>
                    <a href="">
                        Link - https://github.com
                    </a>
                </span>
            </div>
        </div>
    </div>
- 내용은 잘 들어 갔지만 , 컨텐츠들이 정렬 되지 않았습니다.
- CSS를 몇가지 수정하고 정렬시켜야 합니다.
4. CSS 수정
- 우선 content들을 정렬 시켜 보겠습니다.
- 정렬이 되지 않은 이유는 content의 높이가 자식 태그들의 높이들 만큼 반영 되지 않았습니다.
- image 와 textcontent가 float값이 지정 되어 있기 때문에 붕 떠있는 상태와 같습니다.
- 해결방법은 몇가지가 있지만 저는 image와 textcontent의 부모 태그인 content태그에 float 값으로 left를 주어서 해결하겠습니다.
#portfolio > .content {
    float: left;
    margin-top: 50px;
    width: 1240px;
}
- 이제 잘 정렬 되엇습니다.
- 다음으로 image 부분과 sidebar 부분에 간격을 60px만큼 주겠습니다.
- margin-left 값으로 60px만큼 지정하고 textcontent의 width 값을 60px만큼 감소 시킨 680px로 수정합니다.
#portfolio > .content > .image {
    float: left;
    width: 500px;
    margin-left: 60px;
}

#portfolio > .content > .textcontent {
    float: left;
    width: 680px;
}
- 잘 만들어 졌습니다!!
- Js 나 서버 측에서 작업물의 개수만큼 자동으로 content를 만들어 보여주면 좋을것 같습니다.
- 위와 같은 기능들은 우선 페이지들의 레이아웃을 완성 시킨 후 진행해 보도록 하겠습니다.
- 다음 포스팅에서는 마지막 페이지인 contact 페이지를 진행해 보겠습니다.